Fractal Geometry in Python | by Robert Elmes | Medium
A dive into geometry, recurring algorithms and triangles… numerous them!

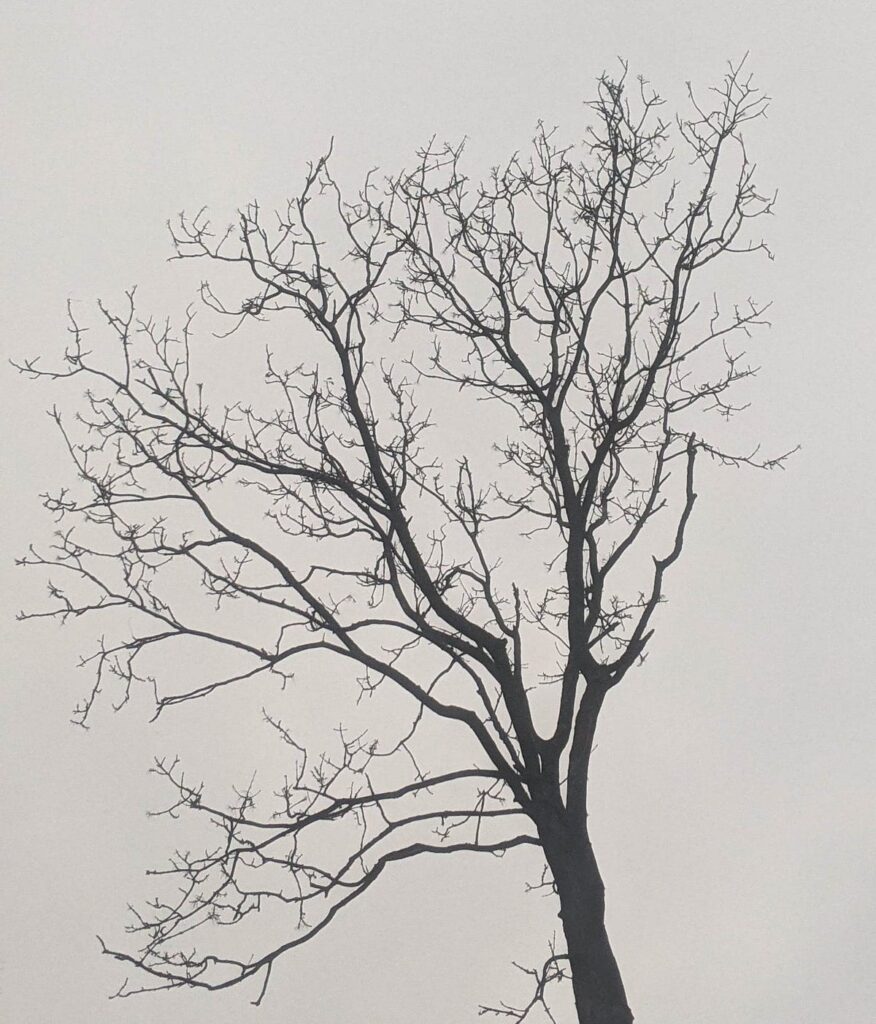
Fractals are infinitely complicated patterns which might be self-similar throughout totally different scales. For instance, a tree trunk splits into smaller branches. These in flip break up into even smaller branches, and so forth.
By producing fractals programmatically, we are able to flip easy shapes into sophisticated repeating patterns.
On this article I will probably be exploring how we are able to construct spectacular fractals in Python utilizing some primary A-Stage geometry and a bit programming know-how.
Fractals play an essential function in information science. For instance, in fractal evaluation the fractal traits of datasets are evaluated to assist perceive the construction of underlying processes. As well as, the recurring algorithm on the centre of fractal technology could be utilized to a variety of knowledge issues, from the binary search algorithm to recurrent neural networks.
I wish to write a program that may draw an equilateral triangle. On both sides of the triangle it should then have the ability to draw a barely smaller outward going through triangle. It ought to have the ability to repeat this course of as many instances as I would love, hopefully creating some fascinating patterns.

I will probably be representing a picture as a two dimensional array of pixels. Every cell within the pixel array will signify the color (RGB) of that pixel.
To realize this, we are able to use the libraries NumPy to generate the pixel array and Pillow to show it into a picture that we are able to save.

Now it’s time to get coding!
Firstly, I would like a perform that may take two units of coordinates and draw a line between them.
The code under works by interpolating between two factors, including new pixels to the pixel array with every step. You may consider this course of like colouring in a line pixel by pixel.
I’ve used the continuation character ‘’ in every code snippet to assist match some longer traces of code in.
import numpy as np
from PIL import Picture
import mathdef plot_line(from_coordinates, to_coordinates, thickness, color, pixels):
# Work out the boundaries of our pixel array
max_x_coordinate = len(pixels[0])
max_y_coordinate = len(pixels)
# The distances alongside the x and y axis between the two factors
horizontal_distance = to_coordinates[1] - from_coordinates[1]
vertical_distance = to_coordinates[0] - from_coordinates[0]
# The whole distance between the 2 factors
distance = math.sqrt((to_coordinates[1] - from_coordinates[1])**2
+ (to_coordinates[0] - from_coordinates[0])**2)
# How far we'll step forwards every time we color in a brand new pixel
horizontal_step = horizontal_distance/distance
vertical_step = vertical_distance/distance
# At this level, we enter the loop to attract the road in our pixel array
# Every iteration of the loop will add a brand new level alongside our line
for i in vary(spherical(distance)):
# These 2 coordinates are those on the middle of our line
current_x_coordinate = spherical(from_coordinates[1] + (horizontal_step*i))
current_y_coordinate = spherical(from_coordinates[0] + (vertical_step*i))
# As soon as we now have the coordinates of our level,
# we draw across the coordinates of dimension 'thickness'
for x in vary (-thickness, thickness):
for y in vary (-thickness, thickness):
x_value = current_x_coordinate + x
y_value = current_y_coordinate + y
if (x_value > 0 and x_value < max_x_coordinate and
y_value > 0 and y_value < max_y_coordinate):
pixels[y_value][x_value] = color
# Outline the scale of our picture
pixels = np.zeros( (500,500,3), dtype=np.uint8 )
# Draw a line
plot_line([0,0], [499,499], 1, [255,200,0], pixels)
# Flip our pixel array into an actual image
img = Picture.fromarray(pixels)
# Present our image, and put it aside
img.present()
img.save('Line.png')

Now I’ve a perform which might draw a line between two factors, it’s time to attract the primary equilateral triangle.
Given the centre level and facet size of a triangle, we are able to work out the peak utilizing the useful system: h = ½(√3a).
Now utilizing that peak, centre level and facet size, I can work out the place every nook of the triangle must be. Utilizing the plot_line perform I made earlier, I can draw a line between every nook.
def draw_triangle(middle, side_length, thickness, color, pixels):# The peak of an equilateral triangle is, h = ½(√3a)
# the place 'a' is the facet size
triangle_height = spherical(side_length * math.sqrt(3)/2)
# The highest nook
high = [center[0] - triangle_height/2, middle[1]]
# Backside left nook
bottom_left = [center[0] + triangle_height/2, middle[1] - side_length/2]
# Backside proper nook
bottom_right = [center[0] + triangle_height/2, middle[1] + side_length/2]
# Draw a line between every nook to finish the triangle
plot_line(high, bottom_left, thickness, color, pixels)
plot_line(high, bottom_right, thickness, color, pixels)
plot_line(bottom_left, bottom_right, thickness, color, pixels)

The stage is ready. Virtually every part I would like is able to create my first fractal in Python. How thrilling!
Nevertheless, this remaining step is arguably the trickiest. I would like our triangle perform to name itself for both sides it has. For this to work, I would like to have the ability to calculate the centre level of every of the brand new smaller triangles, and to rotate them accurately so they’re pointing perpendicular to the facet they’re hooked up to.
By subtracting the offset of our centre level from the coordinates I want to rotate, after which making use of the system to rotate a pair of coordinates, we are able to use this perform to rotate every nook of the triangle.
def rotate(coordinate, center_point, levels):
# Subtract the purpose we're rotating round from our coordinate
x = (coordinate[0] - center_point[0])
y = (coordinate[1] - center_point[1])# Python's cos and sin features take radians as a substitute of levels
radians = math.radians(levels)
# Calculate our rotated factors
new_x = (x * math.cos(radians)) - (y * math.sin(radians))
new_y = (y * math.cos(radians)) + (x * math.sin(radians))
# Add again our offset we subtracted firstly to our rotated factors
return [new_x + center_point[0], new_y + center_point[1]]

Now I can rotate a triangle, I need to change my focus to drawing a brand new smaller triangle on both sides of the primary triangle.
To realize this, I prolonged the draw_triangle perform to calculate, for every edge, the rotation and centre level of a brand new triangle with a facet size diminished by the parameter shrink_side_by.
As soon as it has calculated the centre level and rotation of the brand new triangle it calls draw_triangle (itself) to attract the brand new, smaller triangle out from the centre of the present line. This may then in flip hit the identical block of code that calculates one other set of centre factors and rotations for a fair smaller triangle.
That is referred to as a recurring algorithm, as our draw_triangle perform will now name itself till it reaches the max_depth of triangles we want to draw. It’s essential to have this escape clause, as a result of in any other case the perform would theoretically proceed recurring eternally (however in observe the decision stack will get too massive, leading to a stack overflow error)!
def draw_triangle(middle, side_length, degrees_rotate, thickness, color,
pixels, shrink_side_by, iteration, max_depth):# The peak of an equilateral triangle is, h = ½(√3a)
# the place 'a' is the facet size
triangle_height = side_length * math.sqrt(3)/2
# The highest nook
high = [center[0] - triangle_height/2, middle[1]]
# Backside left nook
bottom_left = [center[0] + triangle_height/2, middle[1] - side_length/2]
# Backside proper nook
bottom_right = [center[0] + triangle_height/2, middle[1] + side_length/2]
if (degrees_rotate != 0):
high = rotate(high, middle, degrees_rotate)
bottom_left = rotate(bottom_left, middle, degrees_rotate)
bottom_right = rotate(bottom_right, middle, degrees_rotate)
# Coordinates between every fringe of the triangle
traces = [[top, bottom_left],[top, bottom_right],[bottom_left, bottom_right]]
line_number = 0
# Draw a line between every nook to finish the triangle
for line in traces:
line_number += 1
plot_line(line[0], line[1], thickness, color, pixels)
# If we have not reached max_depth, draw some new triangles
if (iteration < max_depth and (iteration < 1 or line_number < 3)):
gradient = (line[1][0] - line[0][0]) / (line[1][1] - line[0][1])
new_side_length = side_length*shrink_side_by
# Middle of the road of the traingle we're drawing
center_of_line = [(line[0][0] + line[1][0]) / 2,
(line[0][1] + line[1][1]) / 2]
new_center = []
new_rotation = degrees_rotate
# Quantity we have to rotate the traingle by
if (line_number == 1):
new_rotation += 60
elif (line_number == 2):
new_rotation -= 60
else:
new_rotation += 180
# In a perfect world this might be gradient == 0,
# however as a consequence of floating level division we can not
# be sure that this may at all times be the case
if (gradient < 0.0001 and gradient > -0.0001):
if (center_of_line[0] - middle[0] > 0):
new_center = [center_of_line[0] + triangle_height *
(shrink_side_by/2), center_of_line[1]]
else:
new_center = [center_of_line[0] - triangle_height *
(shrink_side_by/2), center_of_line[1]]
else:
# Calculate the traditional to the gradient of the road
difference_from_center = -1/gradient
# Calculate the gap from the middle of the road
# to the middle of our new traingle
distance_from_center = triangle_height * (shrink_side_by/2)
# Calculate the size within the x route,
# from the middle of our line to the middle of our new triangle
x_length = math.sqrt((distance_from_center**2)/
(1 + difference_from_center**2))
# Work out which manner across the x route must go
if (center_of_line[1] < middle[1] and x_length > 0):
x_length *= -1
# Now calculate the size within the y route
y_length = x_length * difference_from_center
# Offset the middle of the road with our new x and y values
new_center = [center_of_line[0] + y_length,
center_of_line[1] + x_length]
draw_triangle(new_center, new_side_length, new_rotation,
thickness, color, pixels, shrink_side_by,
iteration+1, max_depth)

Under are some examples of various pictures we are able to generate by modifying the shrink_side_by and max_depth values enter to our draw_triangle perform.
It’s fascinating how these massive repeating patterns usually create extra complicated shapes, akin to hexagons, however with a mesmerising symmetry.


All pictures until in any other case famous are by the creator.
Fractals are nice enjoyable to mess around with and might create lovely patterns. Utilizing a couple of easy ideas and a splash of creativity, we are able to generate very spectacular buildings.
In understanding the core properties of our fractals, and making use of the recurring algorithm, we’ve created a strong basis which may also help us perceive extra complicated fractal issues in information science.
Be at liberty to learn and obtain the total code here. Let me know should you discover methods to enhance or prolong it!
I’m wondering what you may create with a distinct form?