A Easy to Implement Finish-to-Finish Undertaking with HuggingFace

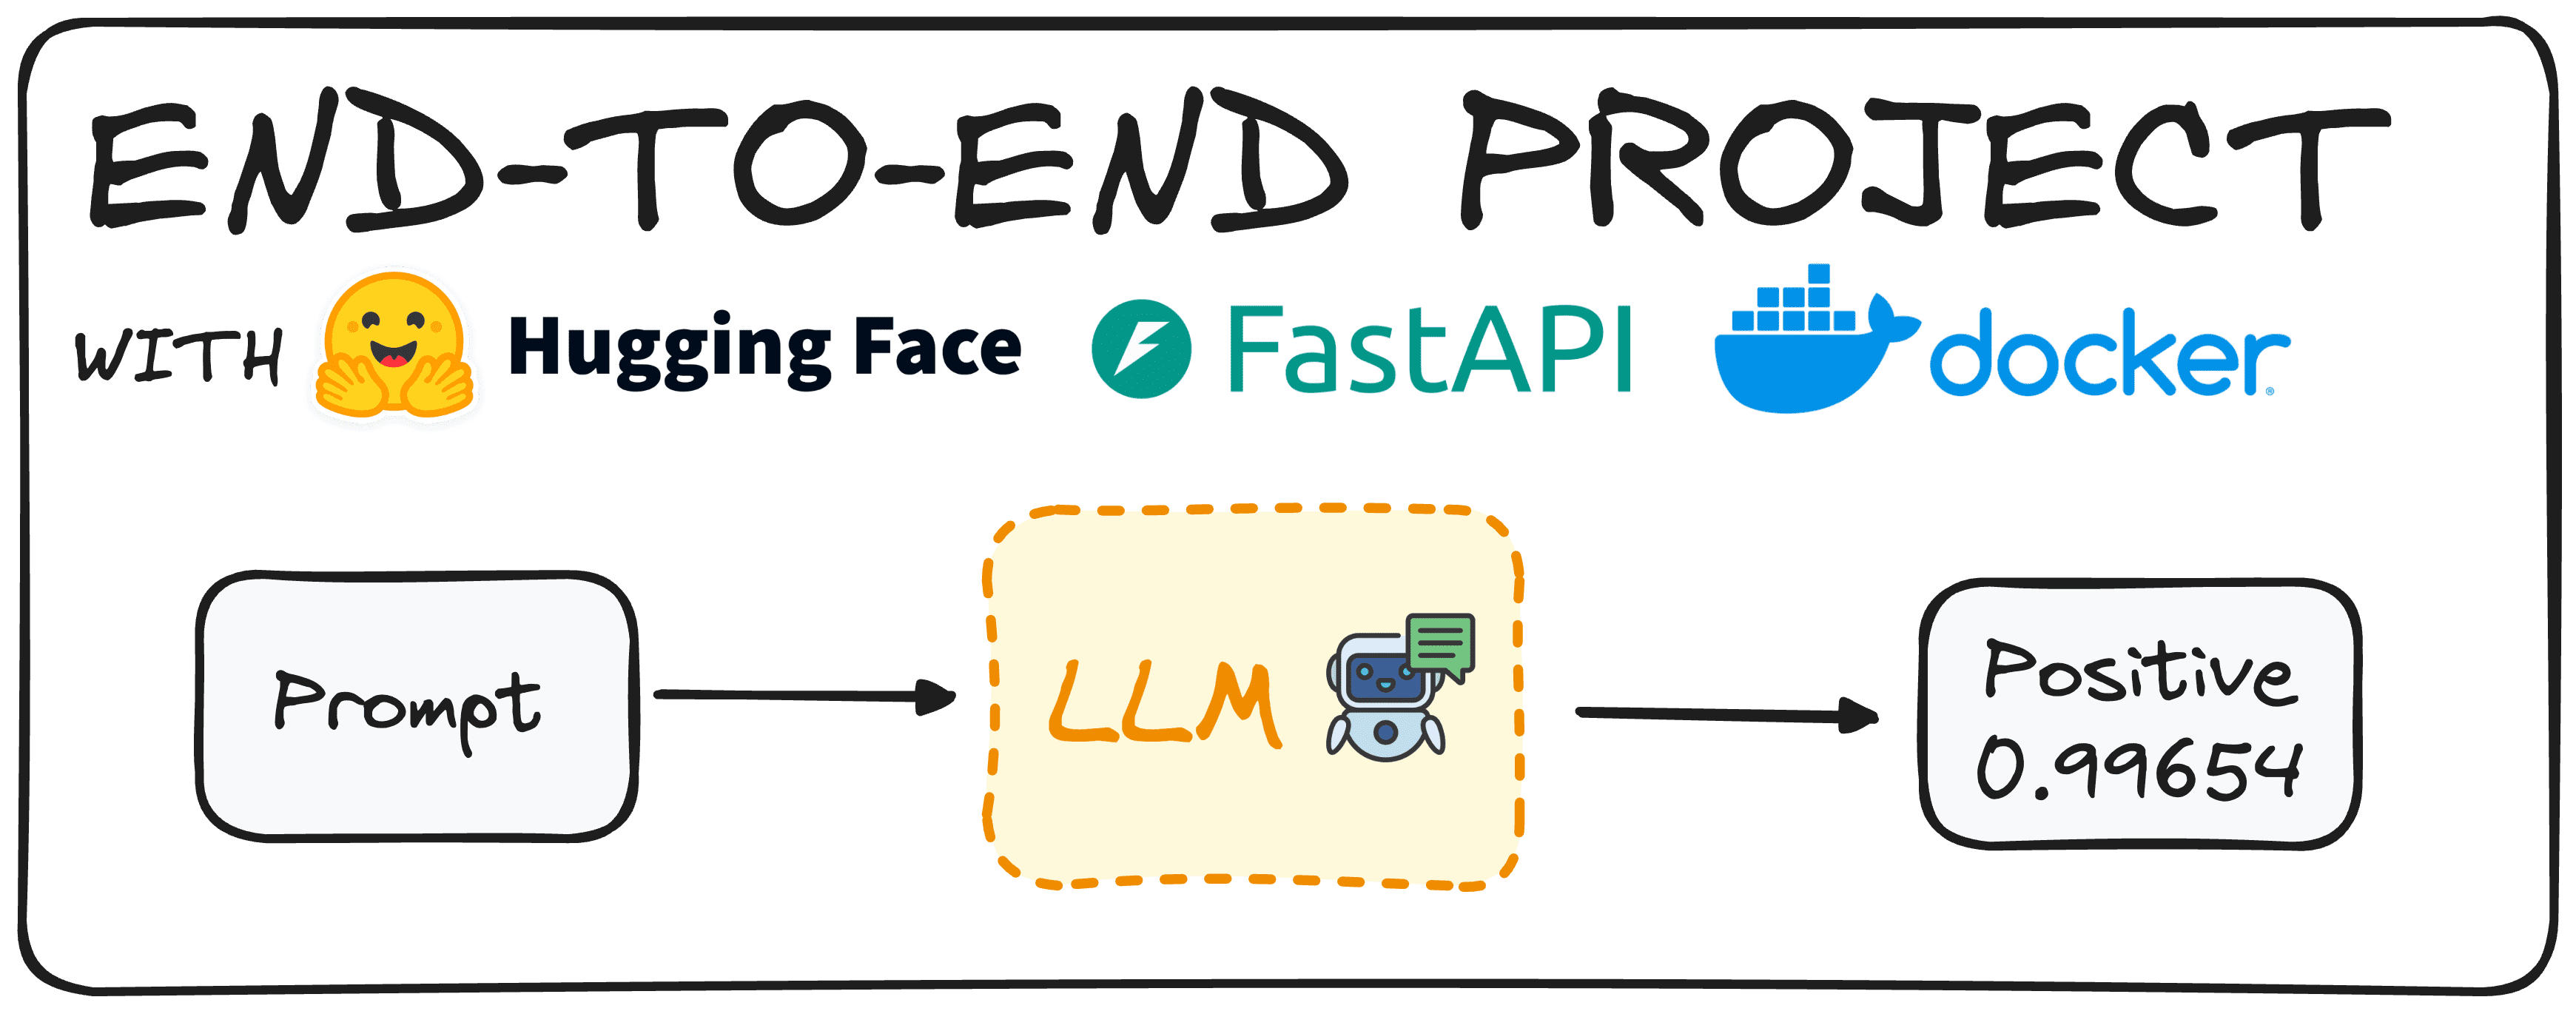
Picture by Creator
Think about making the most of a Hugging Face mannequin to find out the sentiment of opinions. Historically, step one would contain crafting such a mannequin and making certain it really works correctly.
Nevertheless, right now’s pre-trained fashions permit us to have such Giant Language Fashions (LLMs) prepared with minimal effort.
As soon as we’ve got this mannequin prepared for use, our predominant aim is to allow colleagues inside an organization to make use of this mannequin while not having to obtain or implement it from scratch.
To take action, we’d create an endpoint API, enabling customers to name and use the mannequin independently. That is what we consult with as an end-to-end venture, constructed from begin to end.
Right this moment, we are going to deploy a easy mannequin utilizing Hugging Face, FastAPI, and Docker, demonstrating tips on how to obtain this aim effectively.
Step 1: Selecting our HuggingFace Mannequin
The very first thing to do is to select a Hugging Face Mannequin that adapts to our wants. To take action, we are able to simply set up hugging face in our surroundings utilizing the next command:
pip set up transformers

# bear in mind to work with transformers we'd like both tensorflow or pytorch put in as nicely

pip set up torch
pip set up tensorflow
Now we have to import the pipeline command of the transformers library.
from transformers import pipeline
Then utilizing the pipeline command we are able to simply generate a mannequin that defines the sentiment of a given textual content. We are able to achieve this utilizing two completely different approaches: By defining the duty “sentiment evaluation” or by defining the mannequin, as might be seen within the following piece of code.
# Defining straight the duty we need to implement.
pipe = pipeline(activity="sentiment-analysis")

# Defining the mannequin we select.
pipe = pipeline(mannequin="model-to-be-used")
You will need to be aware that utilizing the task-based strategy shouldn’t be advisable, because it limits our management over the precise mannequin getting used.
In my case I selected the “distilbert-base-uncased-fine tuned-sst-2-english” however you’re free to browse the Hugging Face Hub and select any mannequin that fits your wants. You could find a easy information to Hugging Face within the following article.
pipe = pipeline(mannequin="distilbert/distilbert-base-uncased-finetuned-sst-2-english")
Now that we’ve got our pipe mannequin outlined, simply sending a easy immediate we are going to get our outcome again. As an example, for the next command:
print(pipe("This tutorial is nice!"))
We’d get [{‘label’: ‘POSITIVE’, ‘score’: 0.9998689889907837}]
Let’s think about that we choose that our customers get a pure language sentence concerning this classification. We are able to implement a easy Python code that does this too:
def generate_response(immediate:str):
   response = pipe("It is a nice tutorial!")
   label = response[0]["label"]
   rating = response[0]["score"]
   return f"The '{immediate}' enter is {label} with a rating of {rating}"

print(generate_response("This tutorial is nice!"))
And repeating the identical experiment we’d get:
The ‘This tutorial is nice!’ enter is POSITIVE with a rating of 0.9997909665107727
So now we’ve got a working mannequin and we are able to proceed to outline our API.
Step 2: Write API endpoint for the Mannequin with FastAPI
To outline our API we are going to use FastAPI. It’s a Python framework for constructing high-performance internet APIs. First, set up the FastAPI library utilizing the pip command and import it into our surroundings. Moreover, we are going to make the most of the pydantic library to make sure our inputs are of the specified kind.
The next code will generate a working API that our colleagues can straight use.
from fastapi import FastAPI
from pydantic import BaseModel
from transformers import pipeline

# You'll be able to verify another mannequin within the Hugging Face Hub
pipe = pipeline(mannequin="distilbert/distilbert-base-uncased-finetuned-sst-2-english")

# We outline the app
app = FastAPI()

# We outline that we count on our enter to be a string
class RequestModel(BaseModel):
   enter: str

# Now we outline that we settle for publish requests
@app.publish("/sentiment")
def get_response(request: RequestModel):
   immediate = request.enter
   response = pipe(immediate)
   label = response[0]["label"]
   rating = response[0]["score"]
   return f"The '{immediate}' enter is {label} with a rating of {rating}"
This is what occurs step-by-step within the code:
- Importing Essential Libraries: The code begins by importing FastAPI, and Pydantic, which ensures that the information we obtain and ship is structured accurately.
- Loading the Mannequin: Then we load a pre-trained sentiment evaluation mannequin, as we’ve got already completed in step one.
- Setting Up the FastAPI Software:
app = FastAPI()initializes our FastAPI app, making it able to deal with requests. - Defining the Request Mannequin: Utilizing Pydantic, a RequestModel class is outlined. This class specifies that we count on an enter string, making certain that our API solely accepts information within the appropriate format.
- Creating the Endpoint: The
@app.publish("/sentiment")decorator tells FastAPI that this perform must be triggered when a POST request is made to the /sentiment endpoint. The get_response perform takes a RequestModel object as enter, which incorporates the textual content we need to analyze. - Processing the Request: Contained in the
get_responseperform, the textual content from the request is extracted and handed to the mannequin(pipe(immediate)). The mannequin returns a response with the sentiment label (like “POSITIVE” or “NEGATIVE”) and a rating indicating the arrogance of the prediction. - Returning the Response: Lastly, the perform returns a formatted string that features the enter textual content, the sentiment label, and the arrogance rating, offering a transparent and concise outcome for the consumer.
If we execute the code, the API will probably be obtainable in our native host, as might be noticed within the picture under.
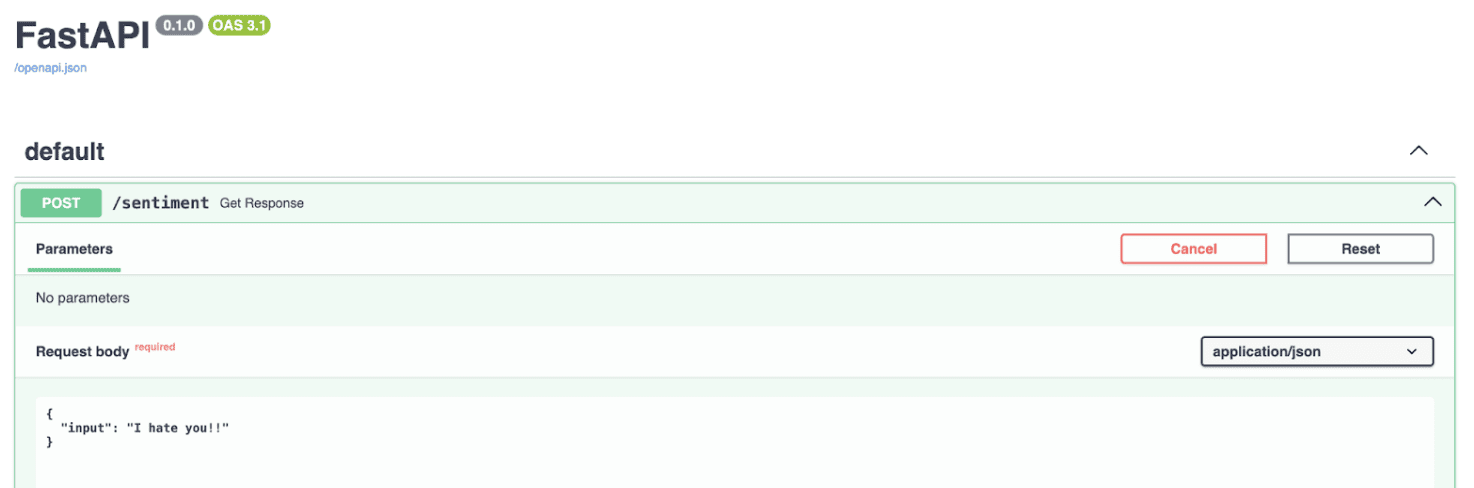
Screenshot of native host finish level with FastAPI
To place it merely, this code units up a easy internet service, the place you possibly can ship a chunk of textual content to, and it’ll reply with an evaluation of the sentiment of that textual content, leveraging the highly effective capabilities of the Hugging Face mannequin by way of FastAPI.
Subsequent, we must always containerize our utility in order that it may be executed anyplace, not simply on our native laptop. It will guarantee better portability and ease of deployment.
Step 3: Use Docker to Run our Mannequin
Containerization entails inserting your utility right into a container. A Docker container runs an occasion of a Docker picture, which incorporates its personal working system and all mandatory dependencies for the appliance.
For instance, you possibly can set up Python and all required packages inside the container, so it could actually run in every single place with out the necessity of putting in such libraries.
To run our sentiment evaluation app in a Docker container, we first have to create a Docker picture. This course of entails writing a Dockerfile, which acts as a recipe specifying what the Docker picture ought to include.
If Docker shouldn’t be put in in your system, you possibly can obtain it from Docker’s website. This is the Dockerfile we’ll use for this venture, named Dockerfile within the repository.
# Use an official Python runtime as a mum or dad picture
FROM python:3.10-slim

# Set the working listing within the container
WORKDIR /sentiment

# Copy the necessities.txt file into the foundation
COPY necessities.txt .

# Copy the present listing contents into the container at /app as nicely
COPY ./app ./app

# Set up any wanted packages laid out in necessities.txt
RUN pip set up -r necessities.txt

# Make port 8000 obtainable to the world exterior this container
EXPOSE 8000

# Run predominant.py when the container launches, as it's contained below the app folder, we outline app.predominant
CMD ["uvicorn", "app.main:app", "--host", "0.0.0.0", "--port", "8000"]
Then we simply have to run the next command within the terminal to construct the docker picture.
docker construct -t sentiment-app .
After which to execute we’ve got two choices:
- Utilizing our terminal with instructions.
docker run -p 8000:8000 --name name_of_cointainer sentiment-hf - Utilizing the docker hub. We are able to simply go to the docker hub and click on on the run button of the picture.

Screenshot of the Dockerhub
And that is all! Now we’ve got a working sentiment classification mannequin what can work anyplace and might be executed utilizing an API.
In Temporary
- Mannequin Choice and Setup: Select and configure a Hugging Face pre-trained mannequin for sentiment evaluation, making certain it meets your wants.
- API Improvement with FastAPI: Create an API endpoint utilizing FastAPI, enabling simple interplay with the sentiment evaluation mannequin.
- Containerization with Docker: Containerize the appliance utilizing Docker to make sure portability and seamless deployment throughout completely different environments.
You’ll be able to verify my entire code in the following GitHub repo.
Josep Ferrer is an analytics engineer from Barcelona. He graduated in physics engineering and is presently working within the information science area utilized to human mobility. He’s a part-time content material creator centered on information science and expertise. Josep writes on all issues AI, overlaying the appliance of the continuing explosion within the area.